


Building a high-performance Industrial Computer is vastly different from assembling a home gaming PC. It requires a "Reliability-First" philosophy, focusing on thermal management, component longevity, and environmental hardening.
As a premier Industrial Computer manufacturer, YANLING provides this professional 6-step engineering workflow to help you understand how a mission-critical IPC (Industrial Personal Computer) is constructed from the ground up.
Step 1: Selecting the Industrial Motherboard (The Core)
The foundation of any Industrial Computer is an embedded-grade motherboard (e.g., 3.5-inch, Mini-ITX, or NUC form factor).
Chipset Choice: Select long-lifecycle chipsets (Intel IoT roadmap) to ensure 7–10 years of availability.
Power Circuitry: Unlike consumer boards, industrial motherboards must support a wide-voltage DC input (12V~24V) to handle fluctuating factory power grids.
Component Grade: Use solid capacitors and high-quality MOSFETs that withstand constant high-temperature operation.
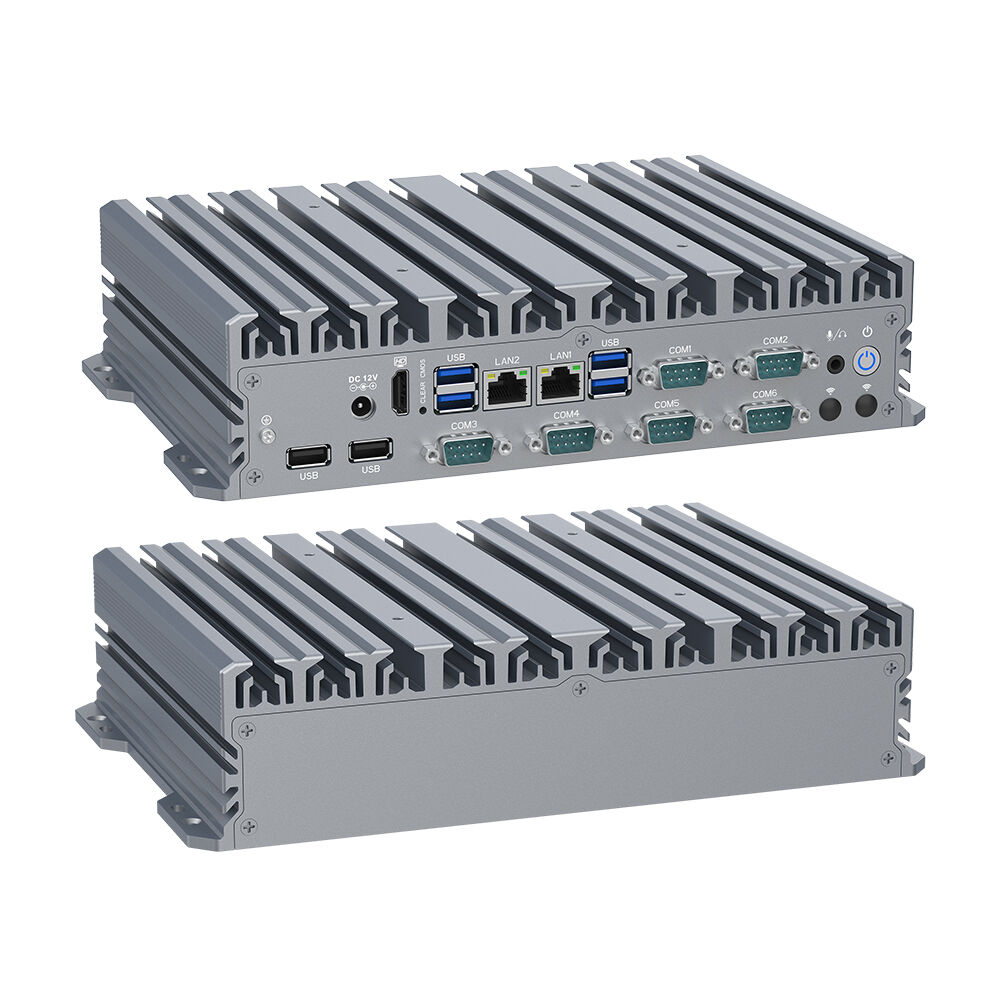
Step 2: Designing the Fanless Thermal Architecture
The defining feature of a YANLING Industrial Computer is its fanless design.
Passive Cooling: Instead of a mechanical fan, we use a high-conductivity thermal block to bridge the CPU and the outer chassis.
Heat Sink Chassis: The entire enclosure is machined from all-aluminum alloy with deep external fins. This increases the surface area for natural convection, allowing a Core i7-12700T to run at full load without overheating.
Step 3: Configuring Industrial-Grade Memory & Storage
RAM Selection: For modern high-speed tasks, integrate Dual DDR5 4800MHz RAM. Ensure modules are "wide-temperature" rated if the PC will be used in unconditioned areas.
Solid-State Storage: Only use M.2 NVMe (PCIe 4.0) or SATA SSDs. Avoid traditional HDDs with moving parts, as they are prone to failure from the constant vibrations of factory machinery or AGV movement.
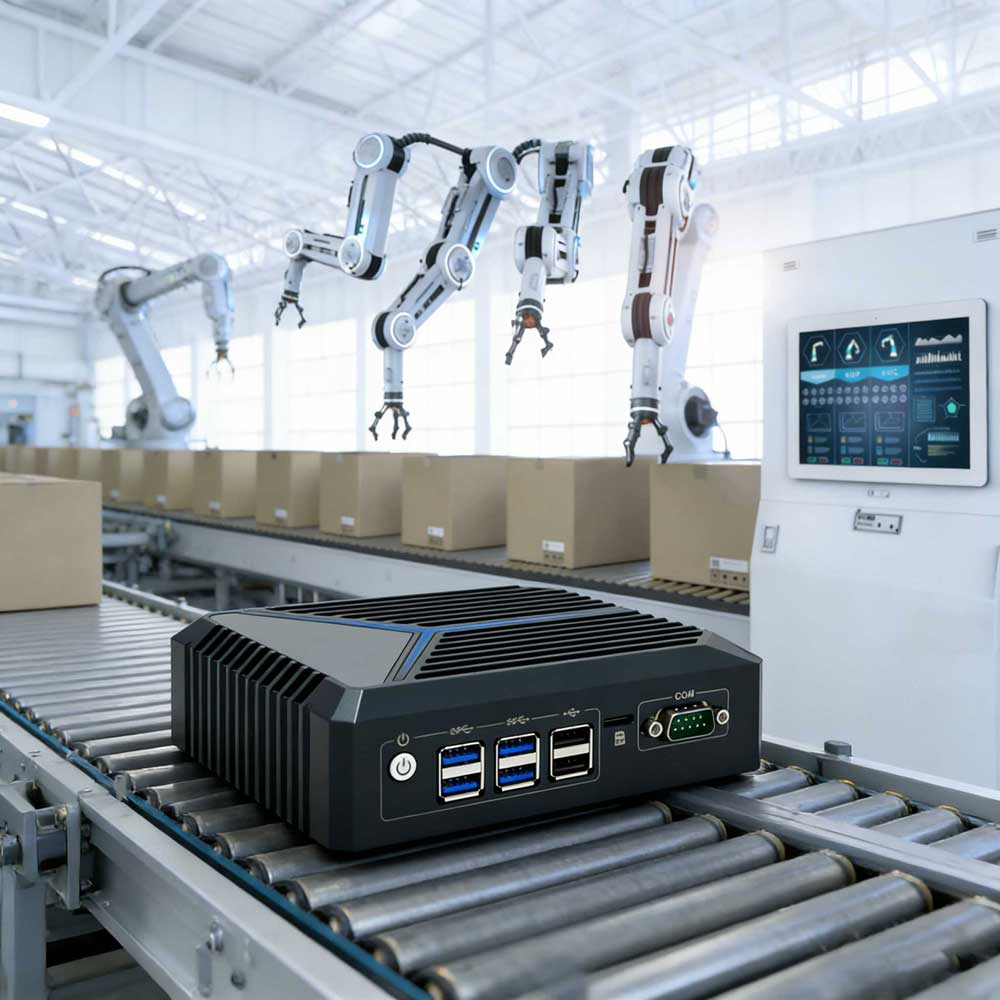
Step 4: Mapping the I/O & Legacy Connectivity
An IPC must act as a bridge between modern software and old-world hardware.
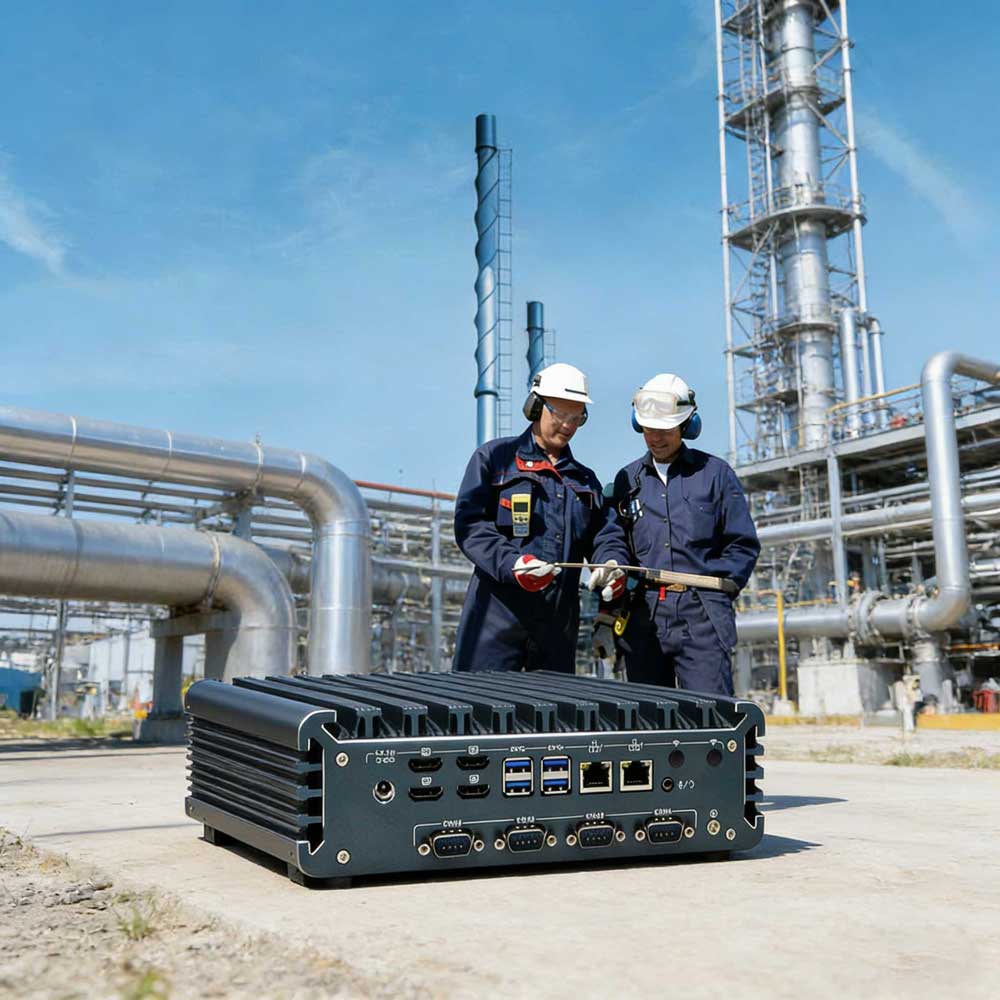
COM Ports: Integrate 2 to 6 RS232/485 ports for PLC and sensor communication.
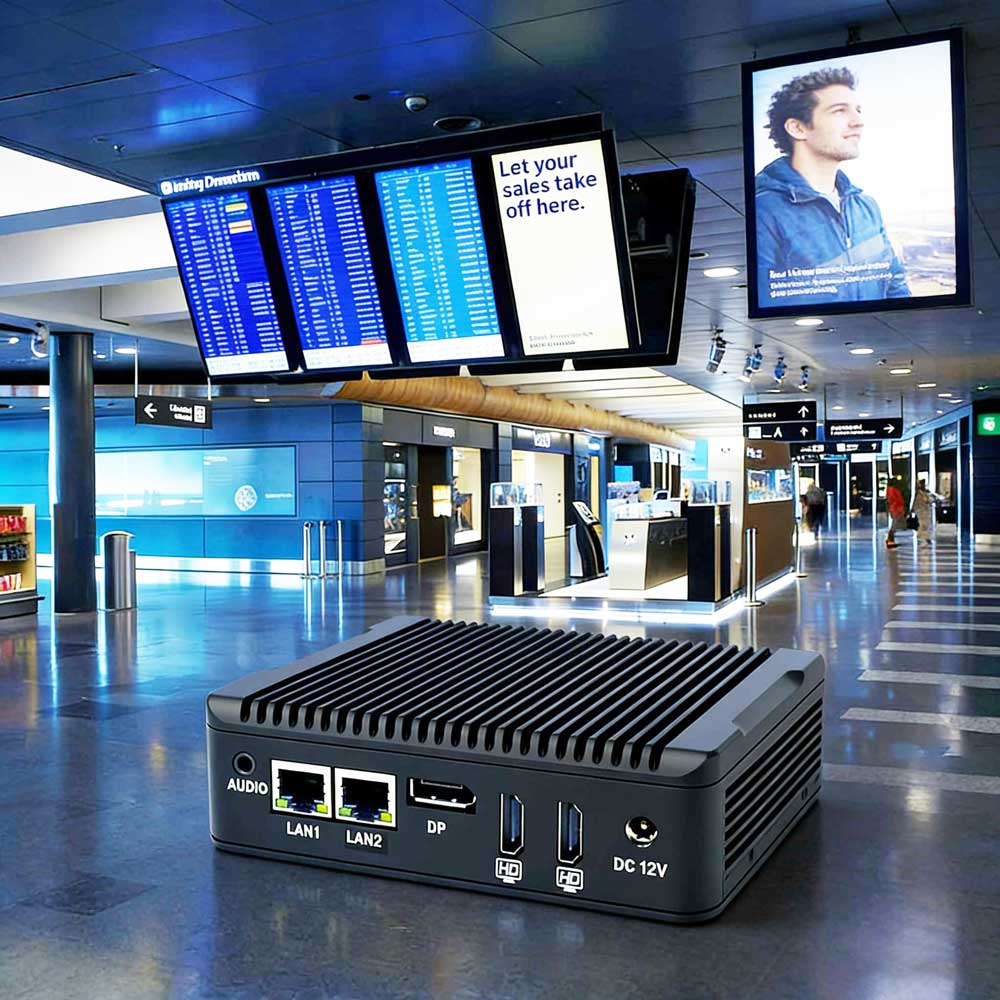
Networking: Deploy Multi-LAN (4x Intel i210/i211 AT) configurations for physical network isolation or high-throughput firewall applications.
GPIO: Add General Purpose Input/Output pins to allow the computer to trigger external switches or alarms directly.
Step 5: Environmental Hardening & Assembly
Vibration Resistance: Use locking connectors and internal bracing to prevent components from shaking loose.
Dust & Moisture Seal: Ensure the chassis is a "closed-loop" system. Without fans, there are no air intakes, which naturally creates an IP-rated barrier against metallic dust and oily mist.
EMC Shielding: The aluminum alloy housing provides essential electromagnetic compatibility (EMC) to prevent interference from nearby high-voltage motors.
Step 6: The "Stress-Testing" Protocol (Quality Assurance)
You haven't finished making an Industrial Computer until it passes these tests:
24-Hour Aging: Running the system at 100% CPU/GPU load in a 50°C-60°C chamber.
Power Cycle Test: Ensuring the "Auto Power On" and "Watchdog" features recover the system perfectly after hundreds of sudden power cuts.
Summary: The YANLING Professional Advantage
While knowing how to make an industrial computer is valuable, sourcing a factory-direct solution from YANLING saves months of R&D. Our Core i7 and N100 series IPCs are pre-engineered, certified (CE/FCC/RoHS), and ready for immediate deployment in smart factories, medical centers, and edge AI networks. Consult with our engineers today for a custom OEM/ODM Industrial Computer solution!